Gallery Wall Tips and Tricks That Will Save You a Lot of Headache
Recently, a D’KOR HOME reader asked for a little lesson in my Gallery Wall Tips and Tricks. The exact question was…
“How To Install a Gallery Wall of Art?”
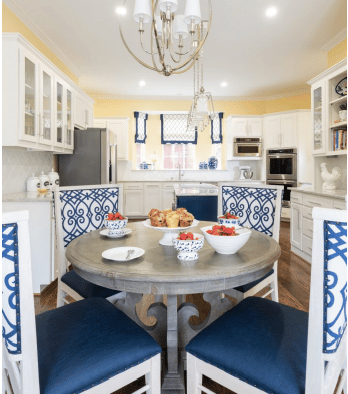
I’ll use Mrs. Zeller’s eat-in kitchen gallery wall tips and tricks – click here to see her Del Webb Texas Community home design.
Please Meet My DIY Gallery Hanging System & Gallery Wall Tips and Tricks
Here are the rules of thumb my Dallas interior design firm interior designers use when installing gallery walls for our clients. Just in case you’re wondering, we most often call in our professional art installers for the sake of time and perfection for our clients.
DIY Gallery Hanging System & Techniques | Gallery Wall Tips and Tricks
1. Find the art first.
2. Keep frames & matboards cohesive.
3. Plan & layout your gallery wall installation on the floor before hanging.
4. Start with your most central art piece in the gallery wall.
Measure to find the center of the wall or focal point. Use at least an 18″ level or laser level to make life easier. Again, recheck your layout to ensure it will fit above sofas, around furniture, etc.
5. Hang frames with 1-2″ uniform spacing.
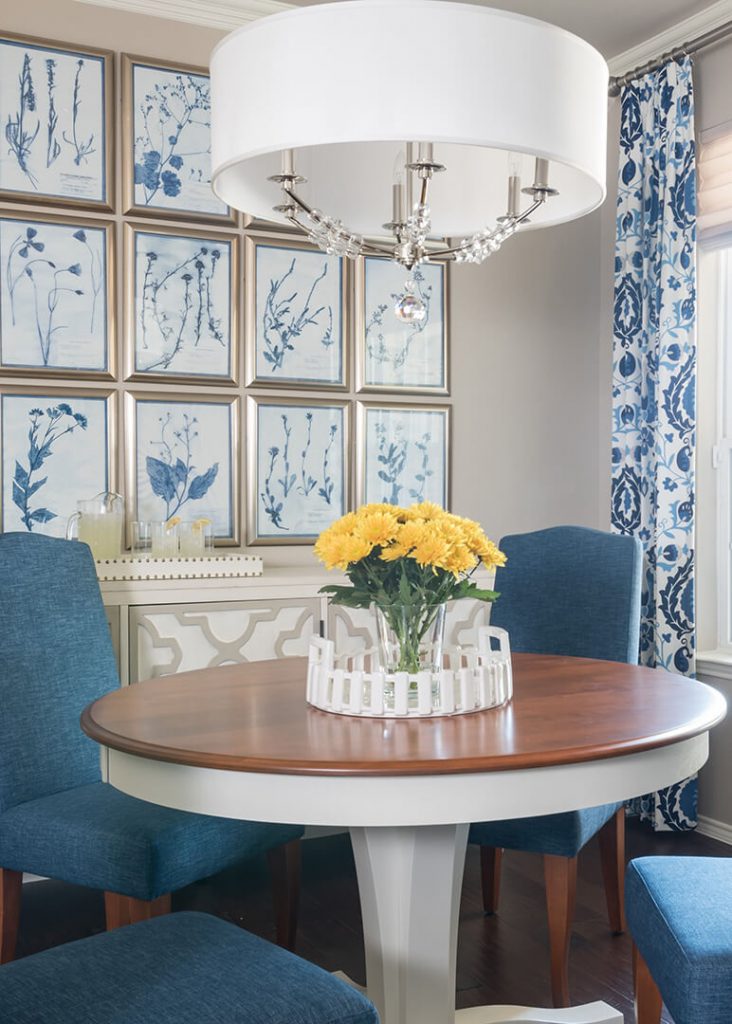
Aside from the visual colors of the art and frame tones, frame spacing uniformity is critical. I cannot stress this enough. I do not hang gallery walls for my clients simply because when installing flea market finds or mixed art, you’ll quickly learn that all art frames are not created equally. Hanging mechanisms aren’t either. For most art, I recommend no more than 2″ of space between the frames. More than 4″ starts to seem like fly away art. Hanging art 1″ apart looks awesome and ofter appears as a wallcovering. That’s not saying that wall art arrangements from my recent home office ideas blog post like this don’t work. Each gallery wall is different. Notice this wall has insets and columns.
Gallery Wall Installation Tools & Necessities Required To Hang The Perfect Gallery Wall
- Art for the gallery wall
- Spray paint if you need to paint frames
- Matboards
- Level – 18″ or longer (a laser leveler is super useful too)
- Pencil for making light erasable marks
- Measuring tape
- Phone or camera for taking photos of the laid flat installation.
Click here to see more Gallery Wall Installations and get Gallery Wall Ideas. Click here if you’re an art collector and want a more professional gallery hanging system. Got another DIY gallery hanging system or more gallery wall tips and tricks? Leave me a comment below.
X~ Dee
P.S. If you liked this post, I think you’ll find a lot of value in my other interior design ideas blog post…

Chief D’KORator, Voted “Best of Houzz” for Dallas Interior Designers, Early Riser, Coffee Lover, Gardening Guru, Estate Sale Maven, Mover, Shaker, Wife, & Mom


